
Configuring Kubernetes - DigitalOcean Kubernetes - Part 1
This article describes my experience re-hosting this site on DigitalOcean with Kubernetes. If you've read my previous posts, you know this site is staticly generated with Hugo. I deploy using Git on Azure App Services. As I move deeper into total containerization, I've started looking for a host that's more tailored for many small containers.
Although I enjoy App Services for their simplicity, I've run into publishing issues when using Docker. I've also run production instances of Kubernetes but ran into stability problems. So I started investigating other hosts.
With various companies and projects, I've hosted on the big three (AWS, Azure, GCloud), as well as numerous smaller hosting providers. Some of these hosts claim "Pay what you use" with containers, but a lot of times, this is per container. I'm hosting many small resource-light containers, so pricing becomes difficult. Orchestration bypasses this problem, but setup and management tend to be complicated. Dustin test-drove DigitalOcean for a project, and after his praise, I was anxious to take it for a spin.
I started by following an excellent tutorial by DigitalOcean. Although it was near-perfect, I changed a few things so I figured I'd post my experience here.
Setup account
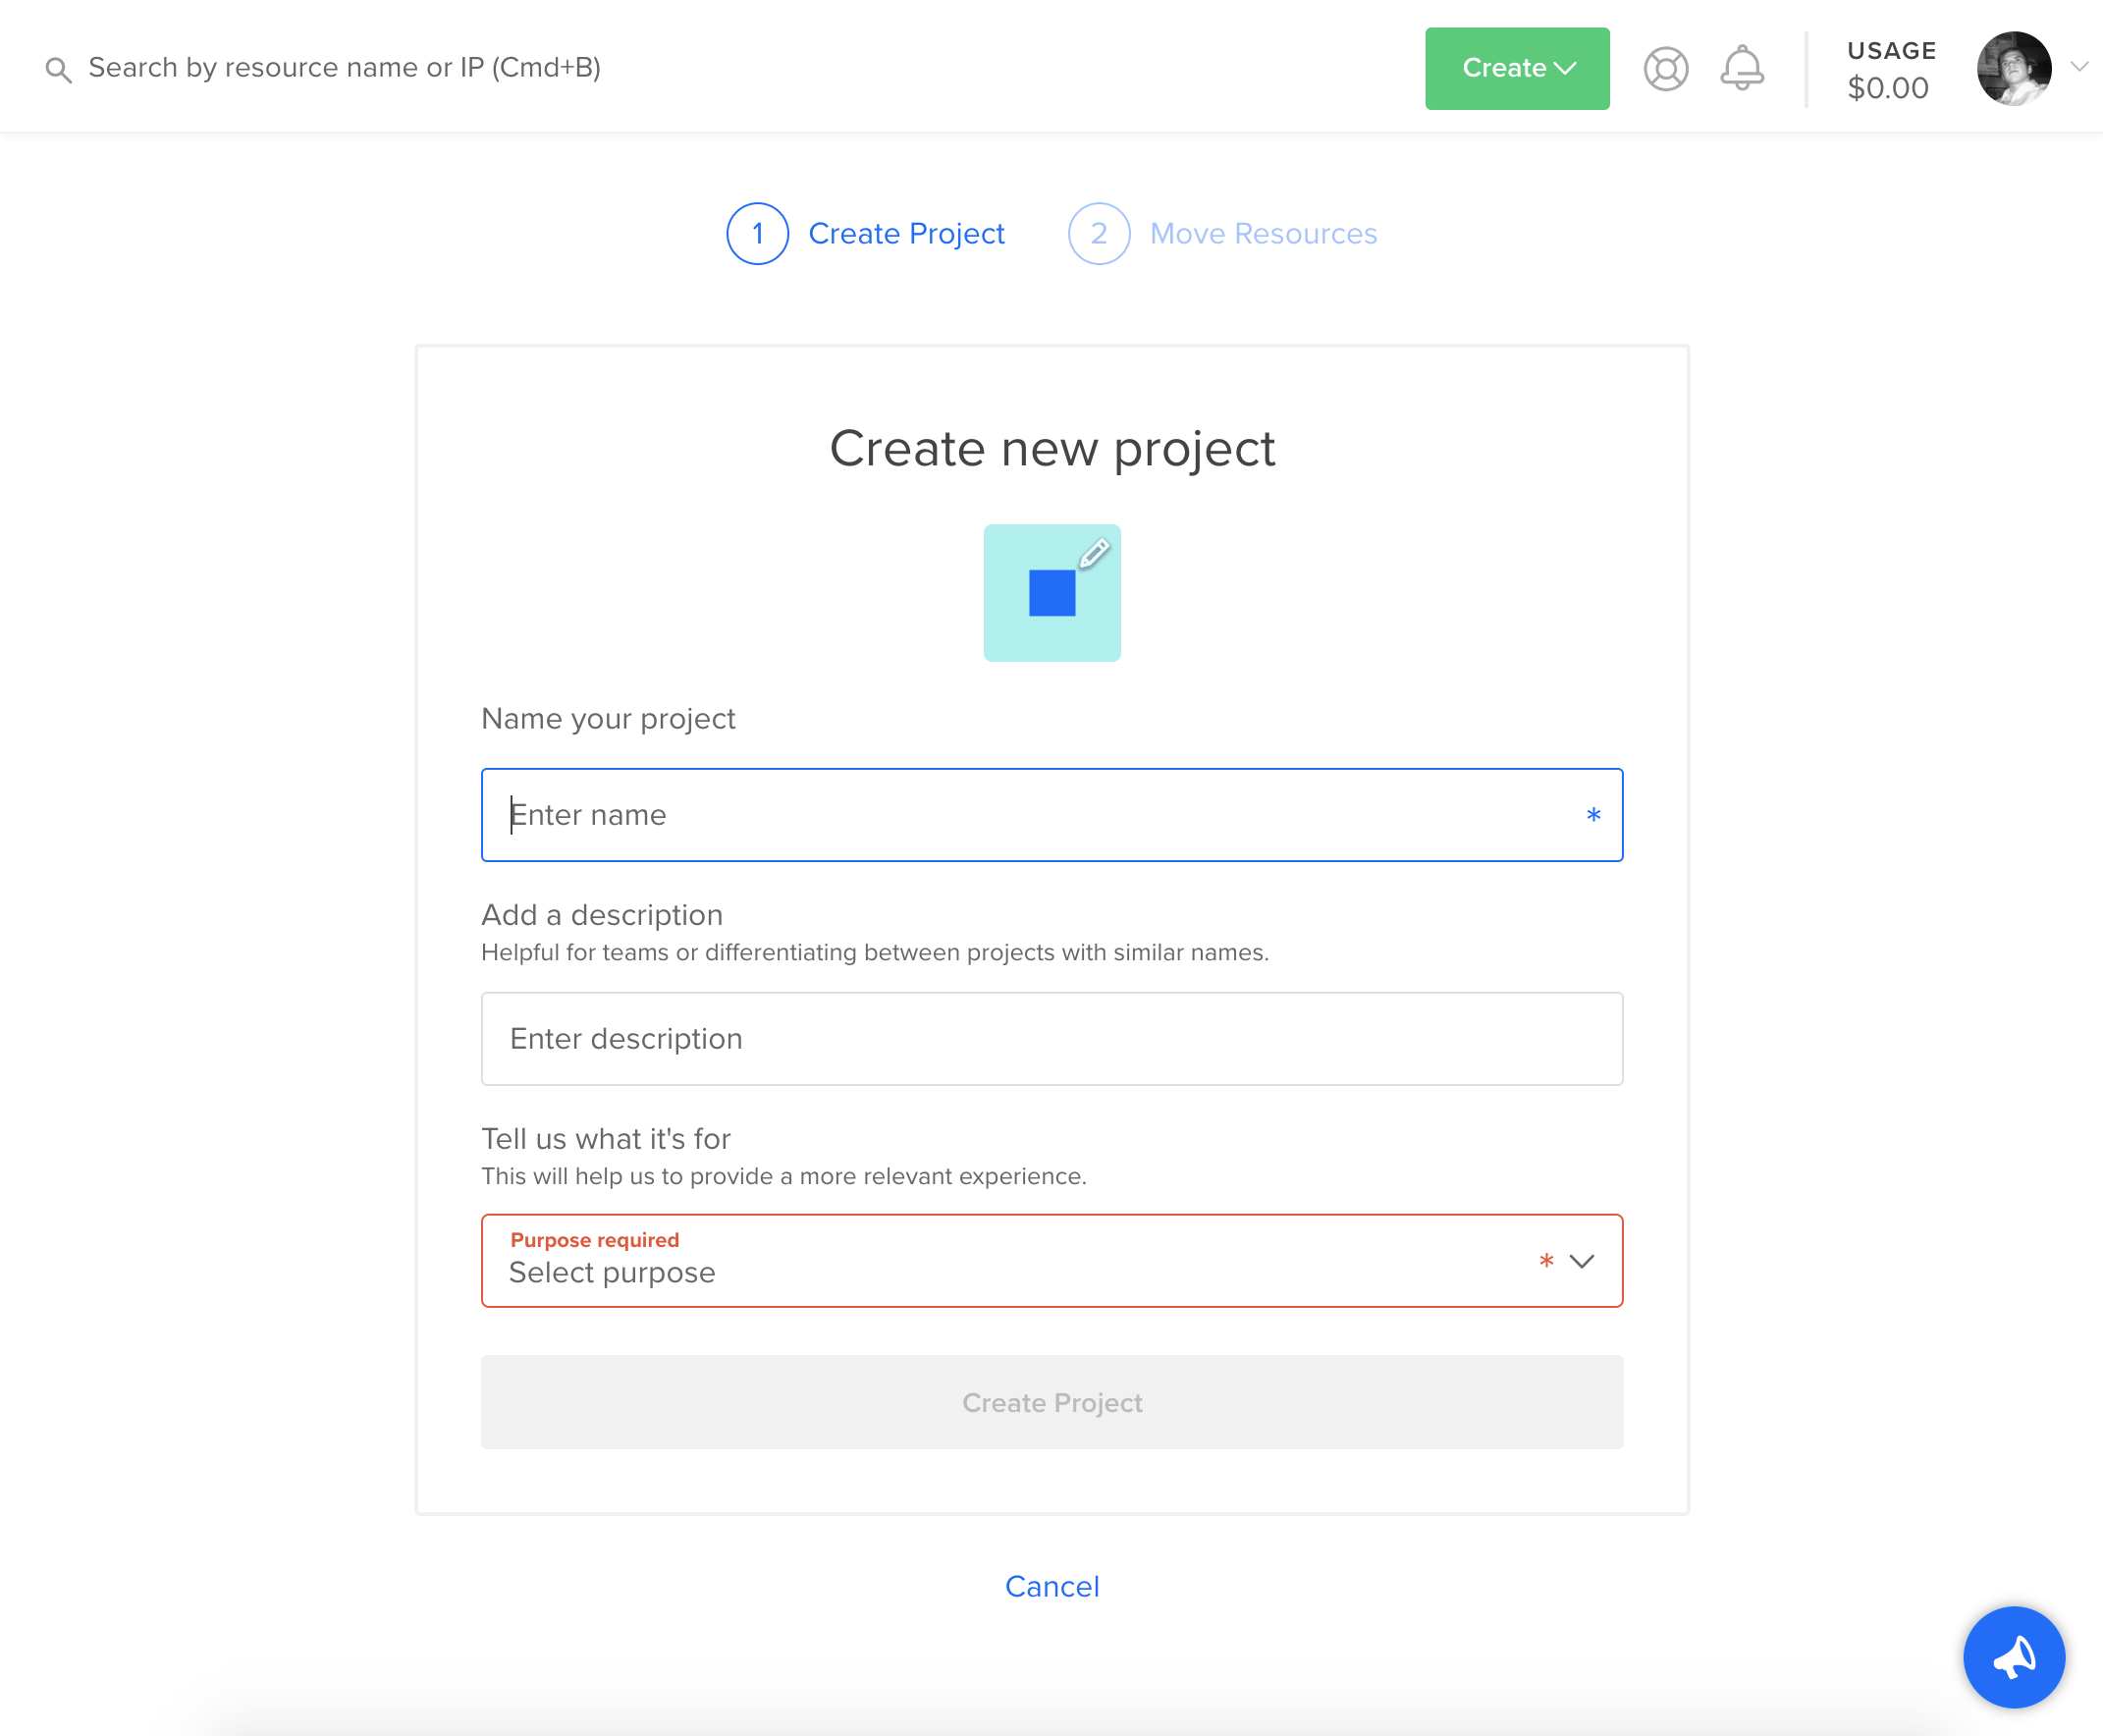
I created an account and a default project with Digital Ocean. The site looks beautiful, and registration was a straightforward process.
Creating a Kubernetes cluster
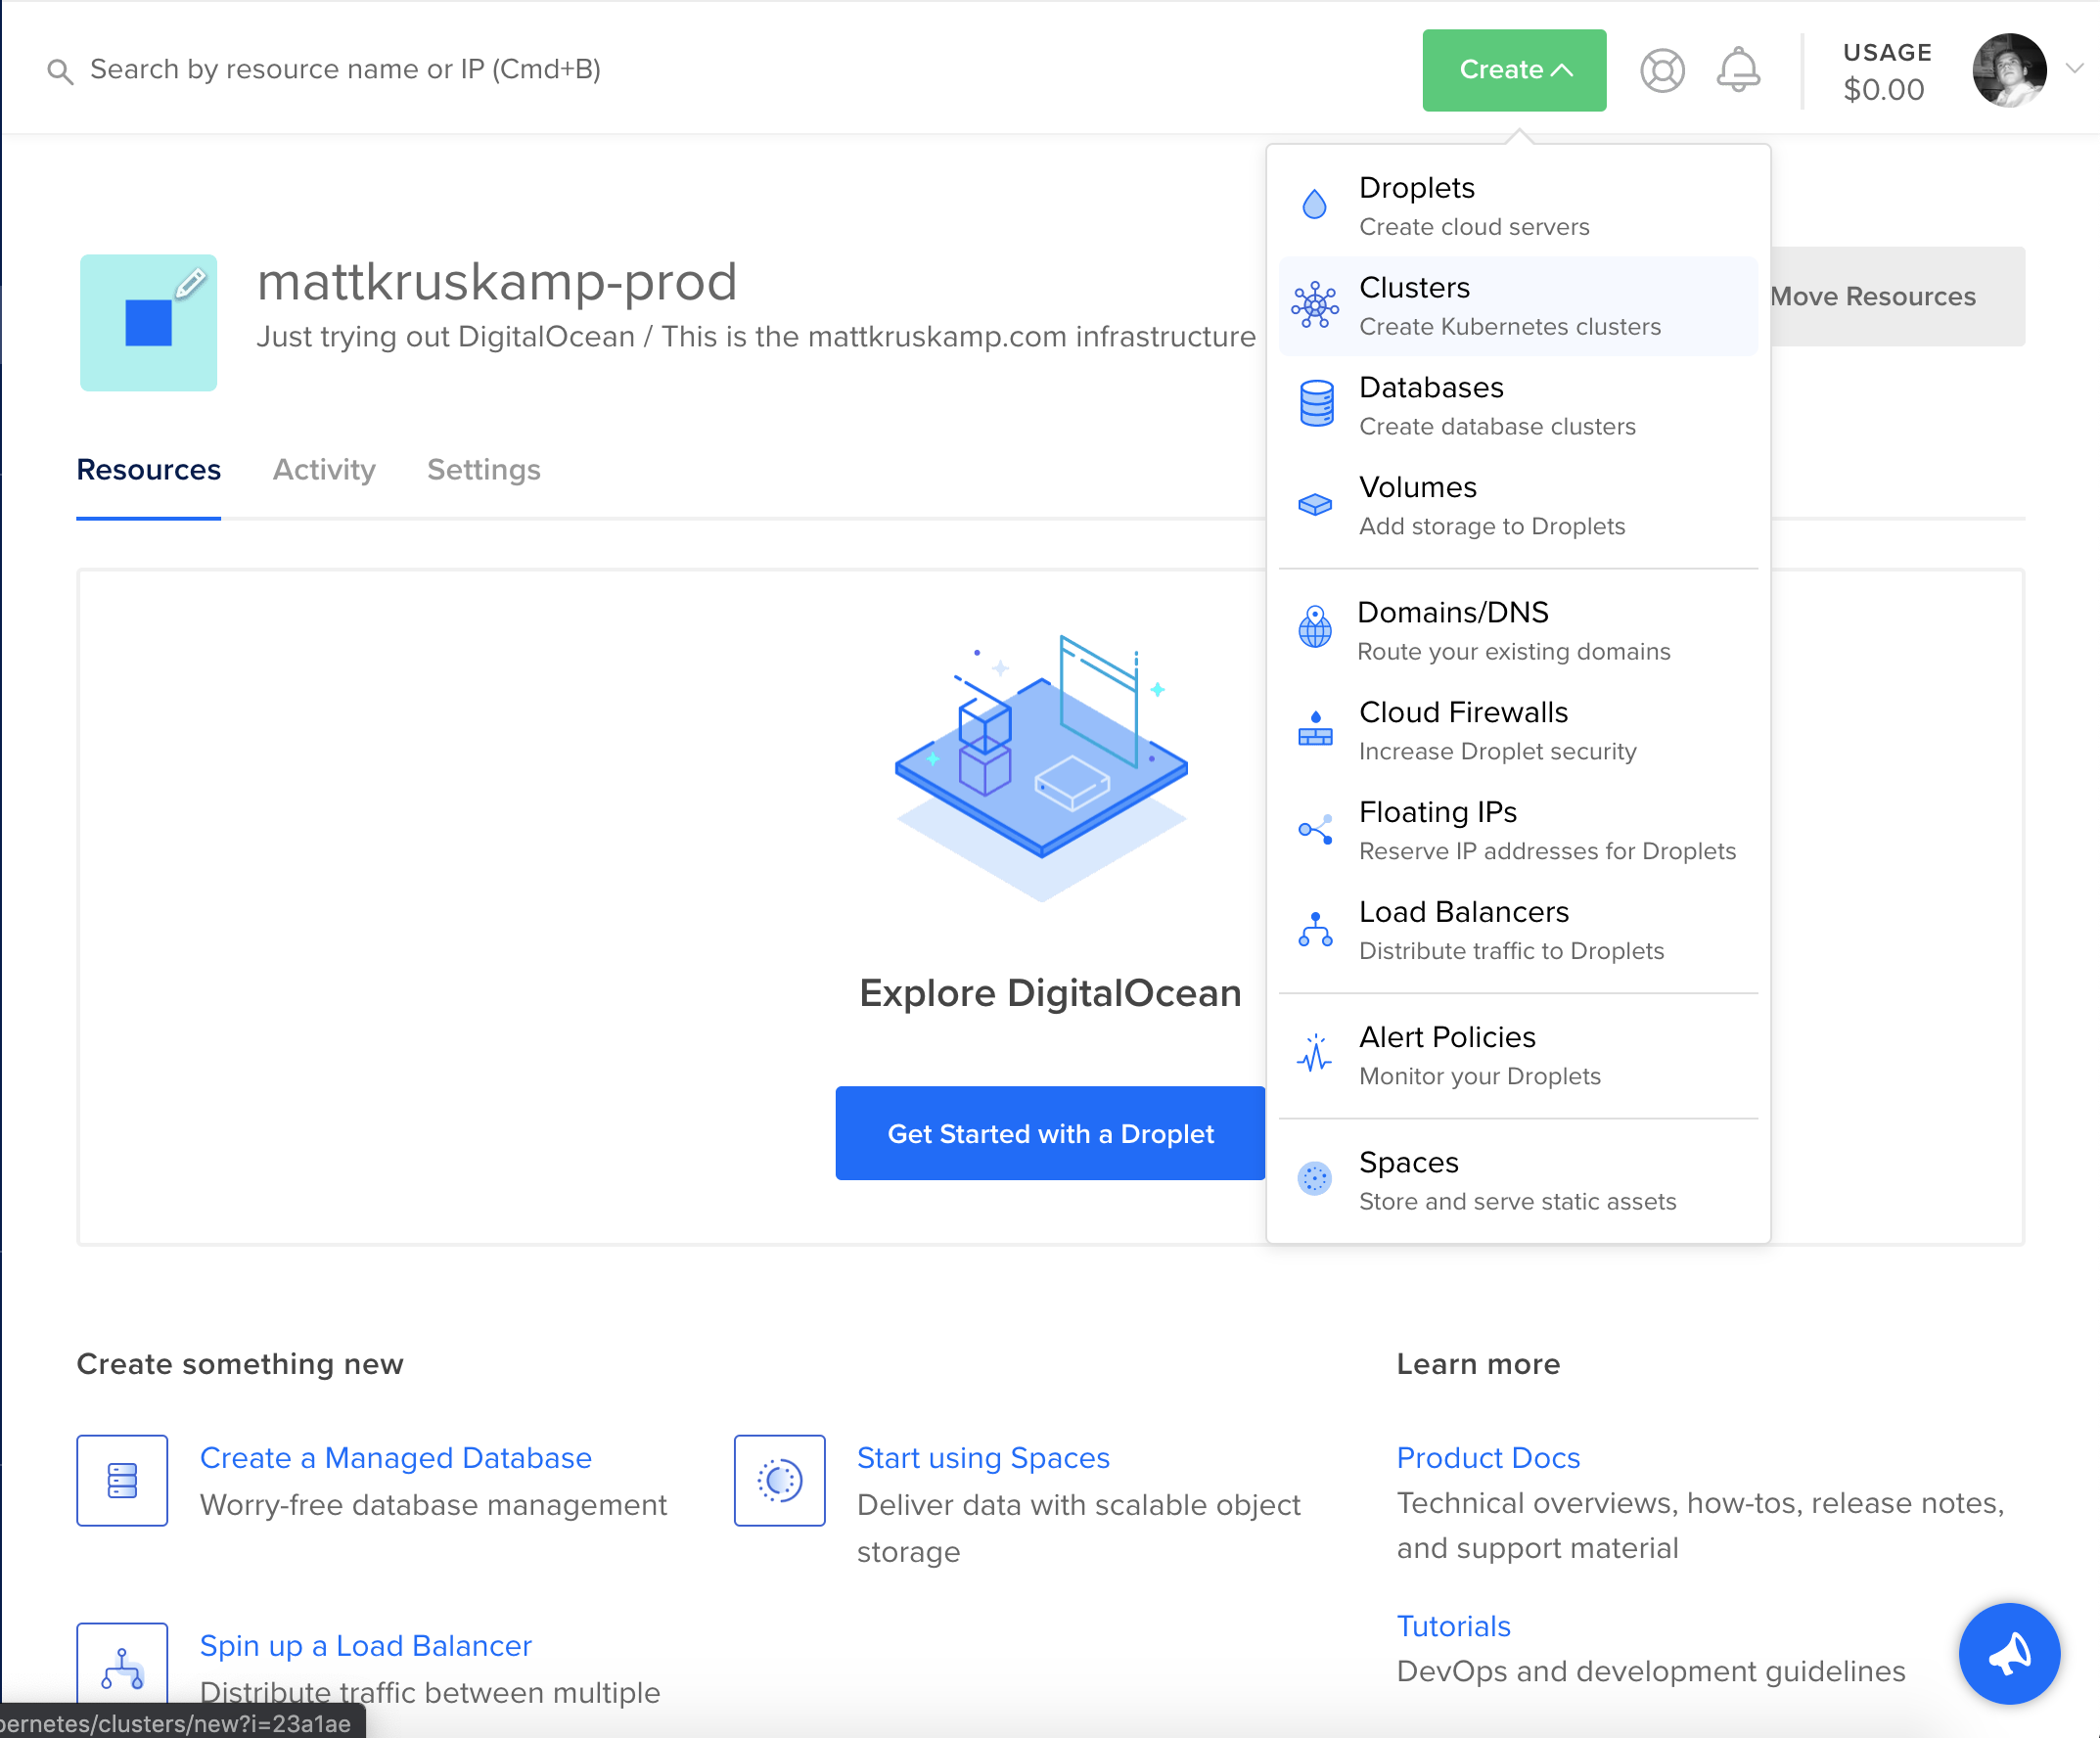
With the account and first project configured, I created a Kubernetes cluster. Creating the cluster was as simple as clicking the Create menu in the top-right and selecting Kubernetes.
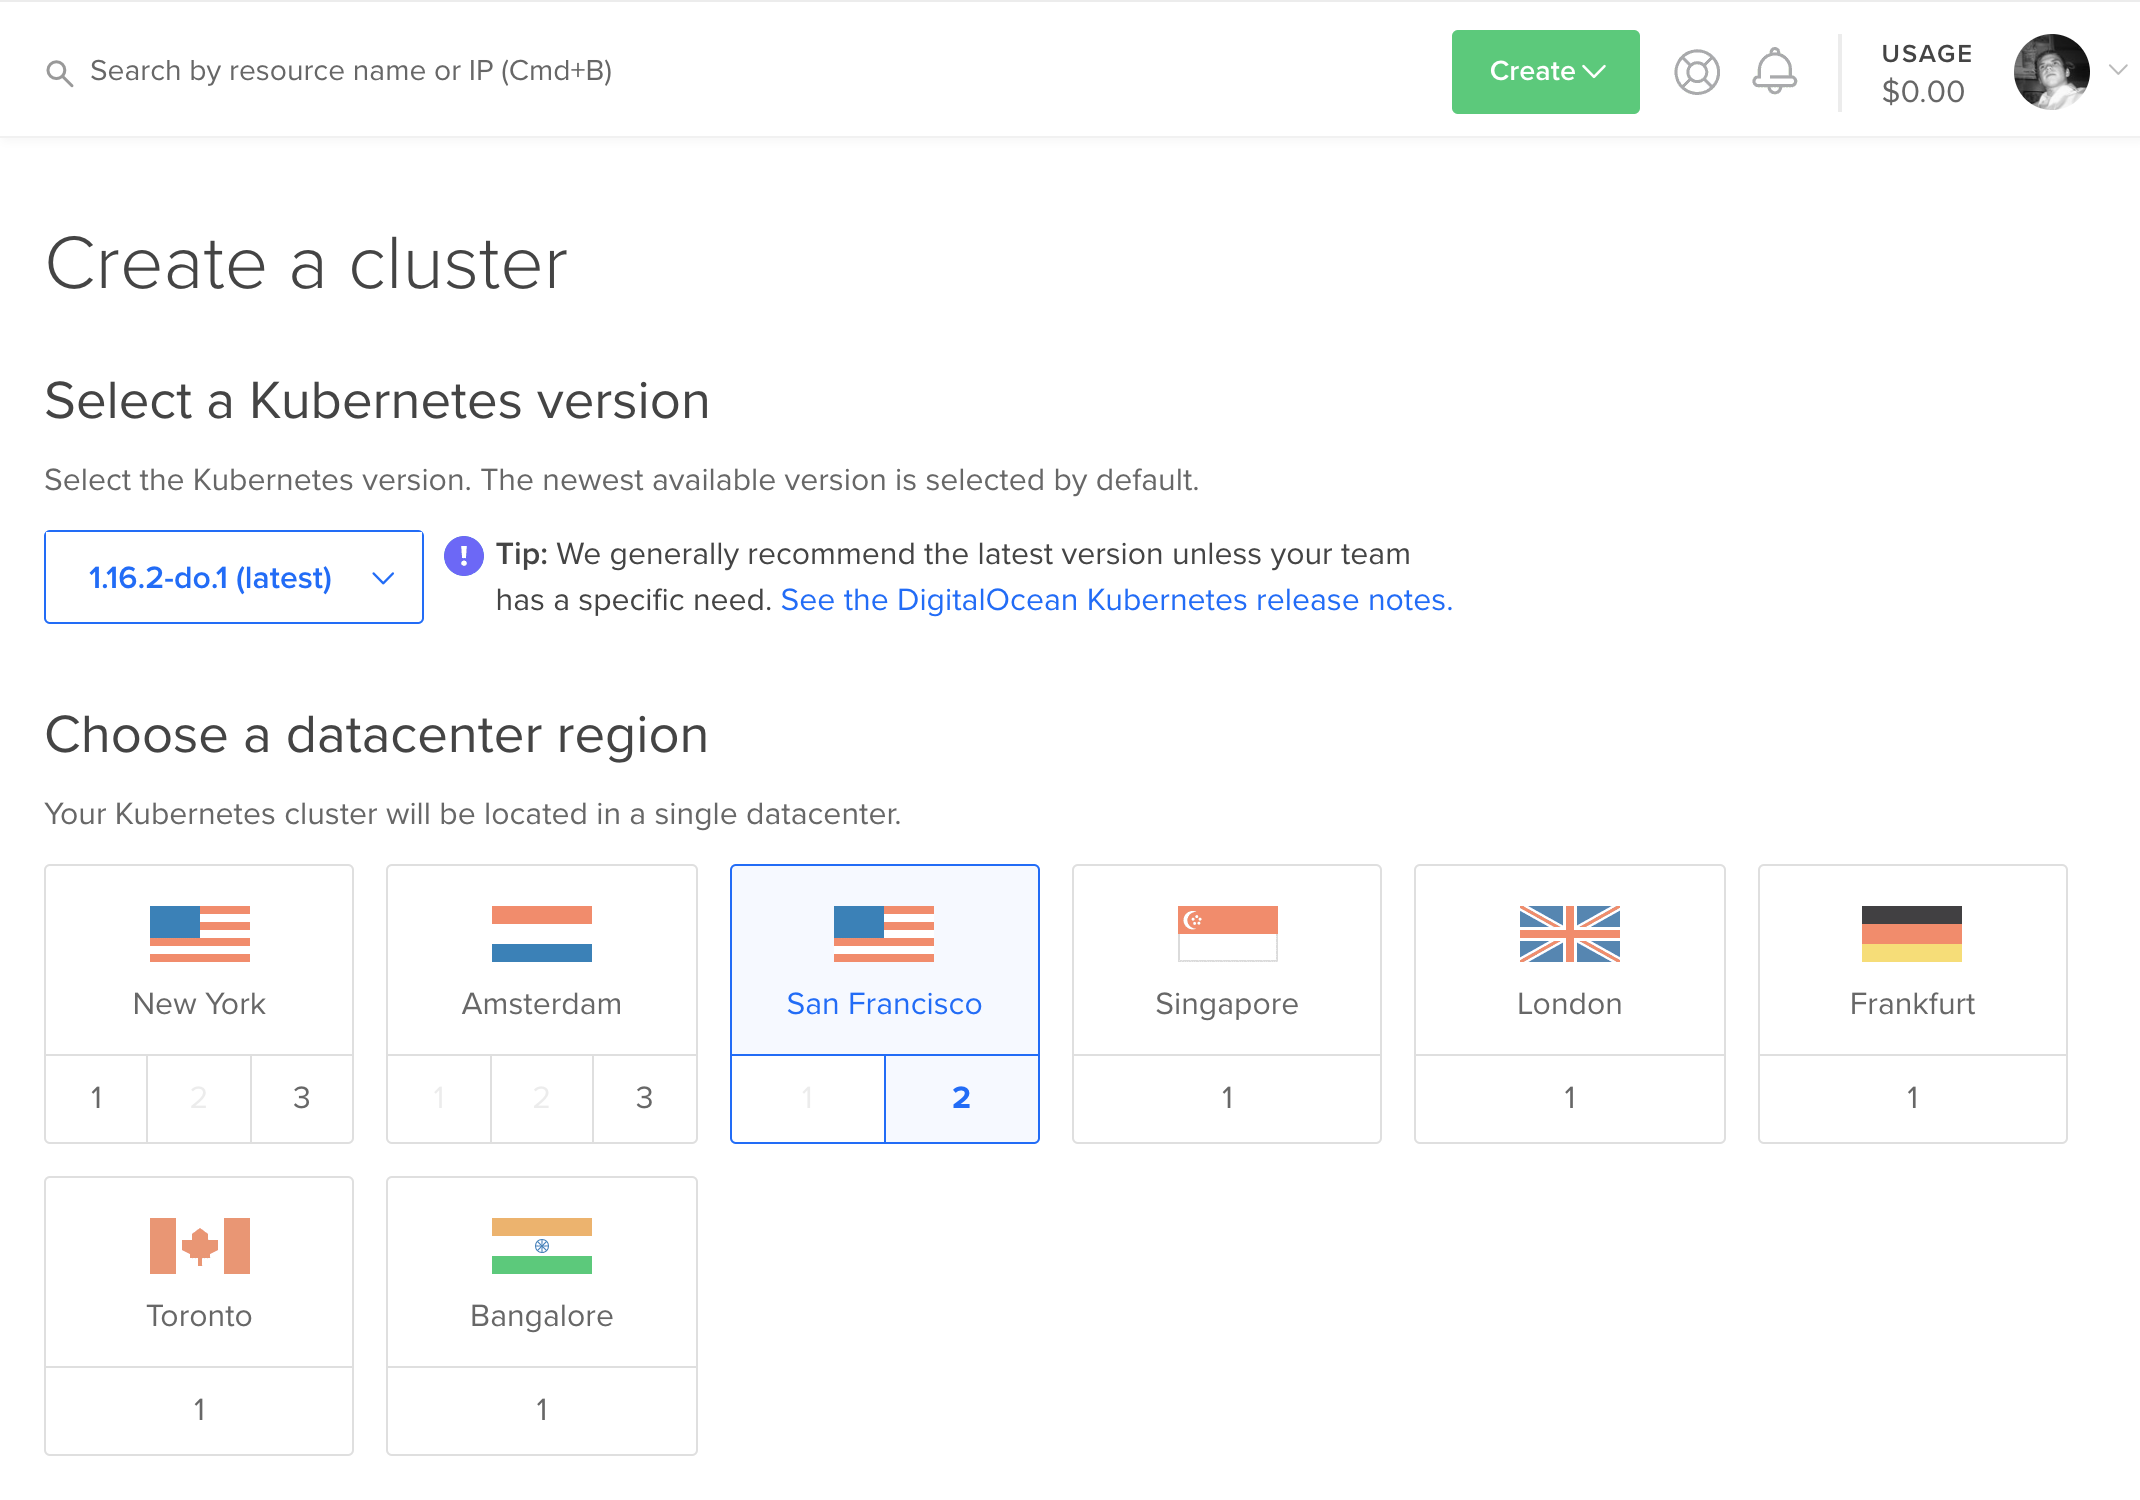
They present several very straightforward options. The nodes in the cluster are DigitalOcean droplets. For pricing details, refer to their pricing page.
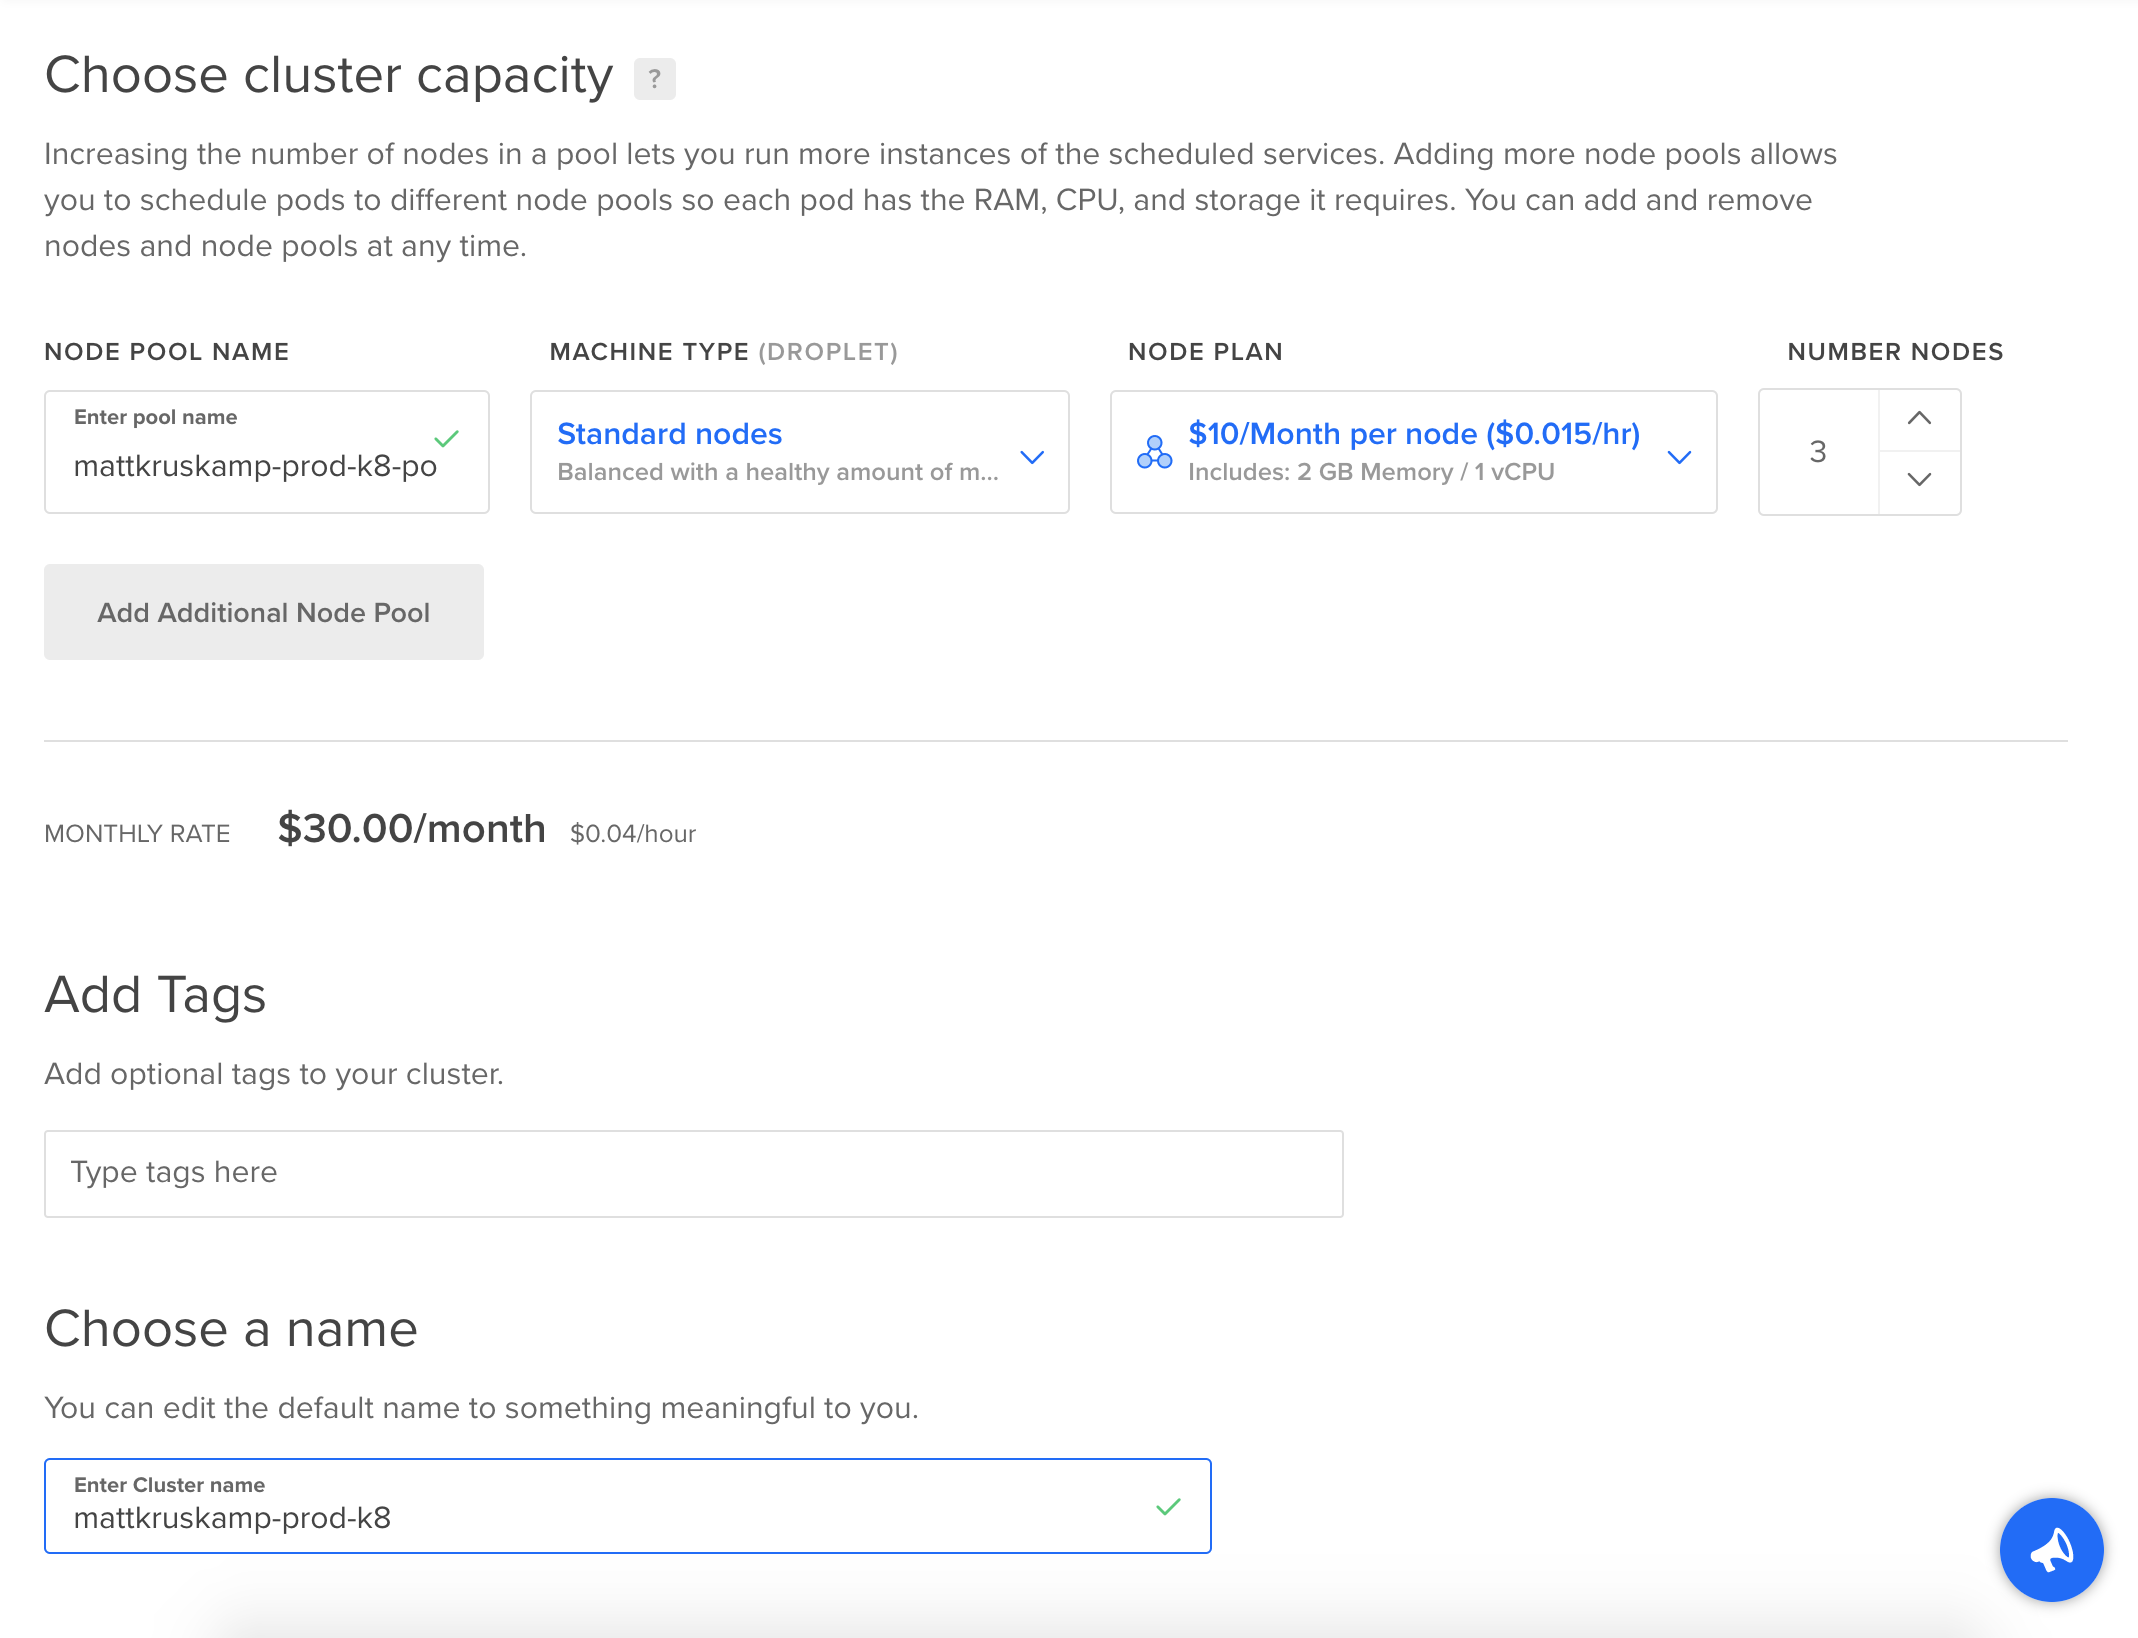
Then I waited a few minutes while the cluster provisioned. Once it finished, I had a shiny new Kubernetes cluster. Creating everything is very straightforward. Now the question is: How difficult is it to configure?
Installing tools
Configuring the cluster requires some CLI tools. kubectl is the utility to manage Kubernetes, and doctl is specific to DigitalOcean. I have Homebrew installed on OSX, so the installations were pretty simple.
brew install kubectl
If you're using Windows or Linux when provisioning the cluster there's links to setting up
kubectlanddoctlwith all operating systems.
I have Docker Desktop installed, and want to use the latest version of kubectl instead of the one that comes with Docker Desktop. I can re-link it pretty quickly. Re-linking is optional.
rm '/usr/local/bin/kubectl'
brew link kubernetes-cli
kubectl version
With kubectl installed it's time to install doctl.
brew install doctl
Perfect.
Connecting to Kubernetes
Connecting to the cluster requires API keys. I needed to generate them. Luckily, there's an easy tool to do this.
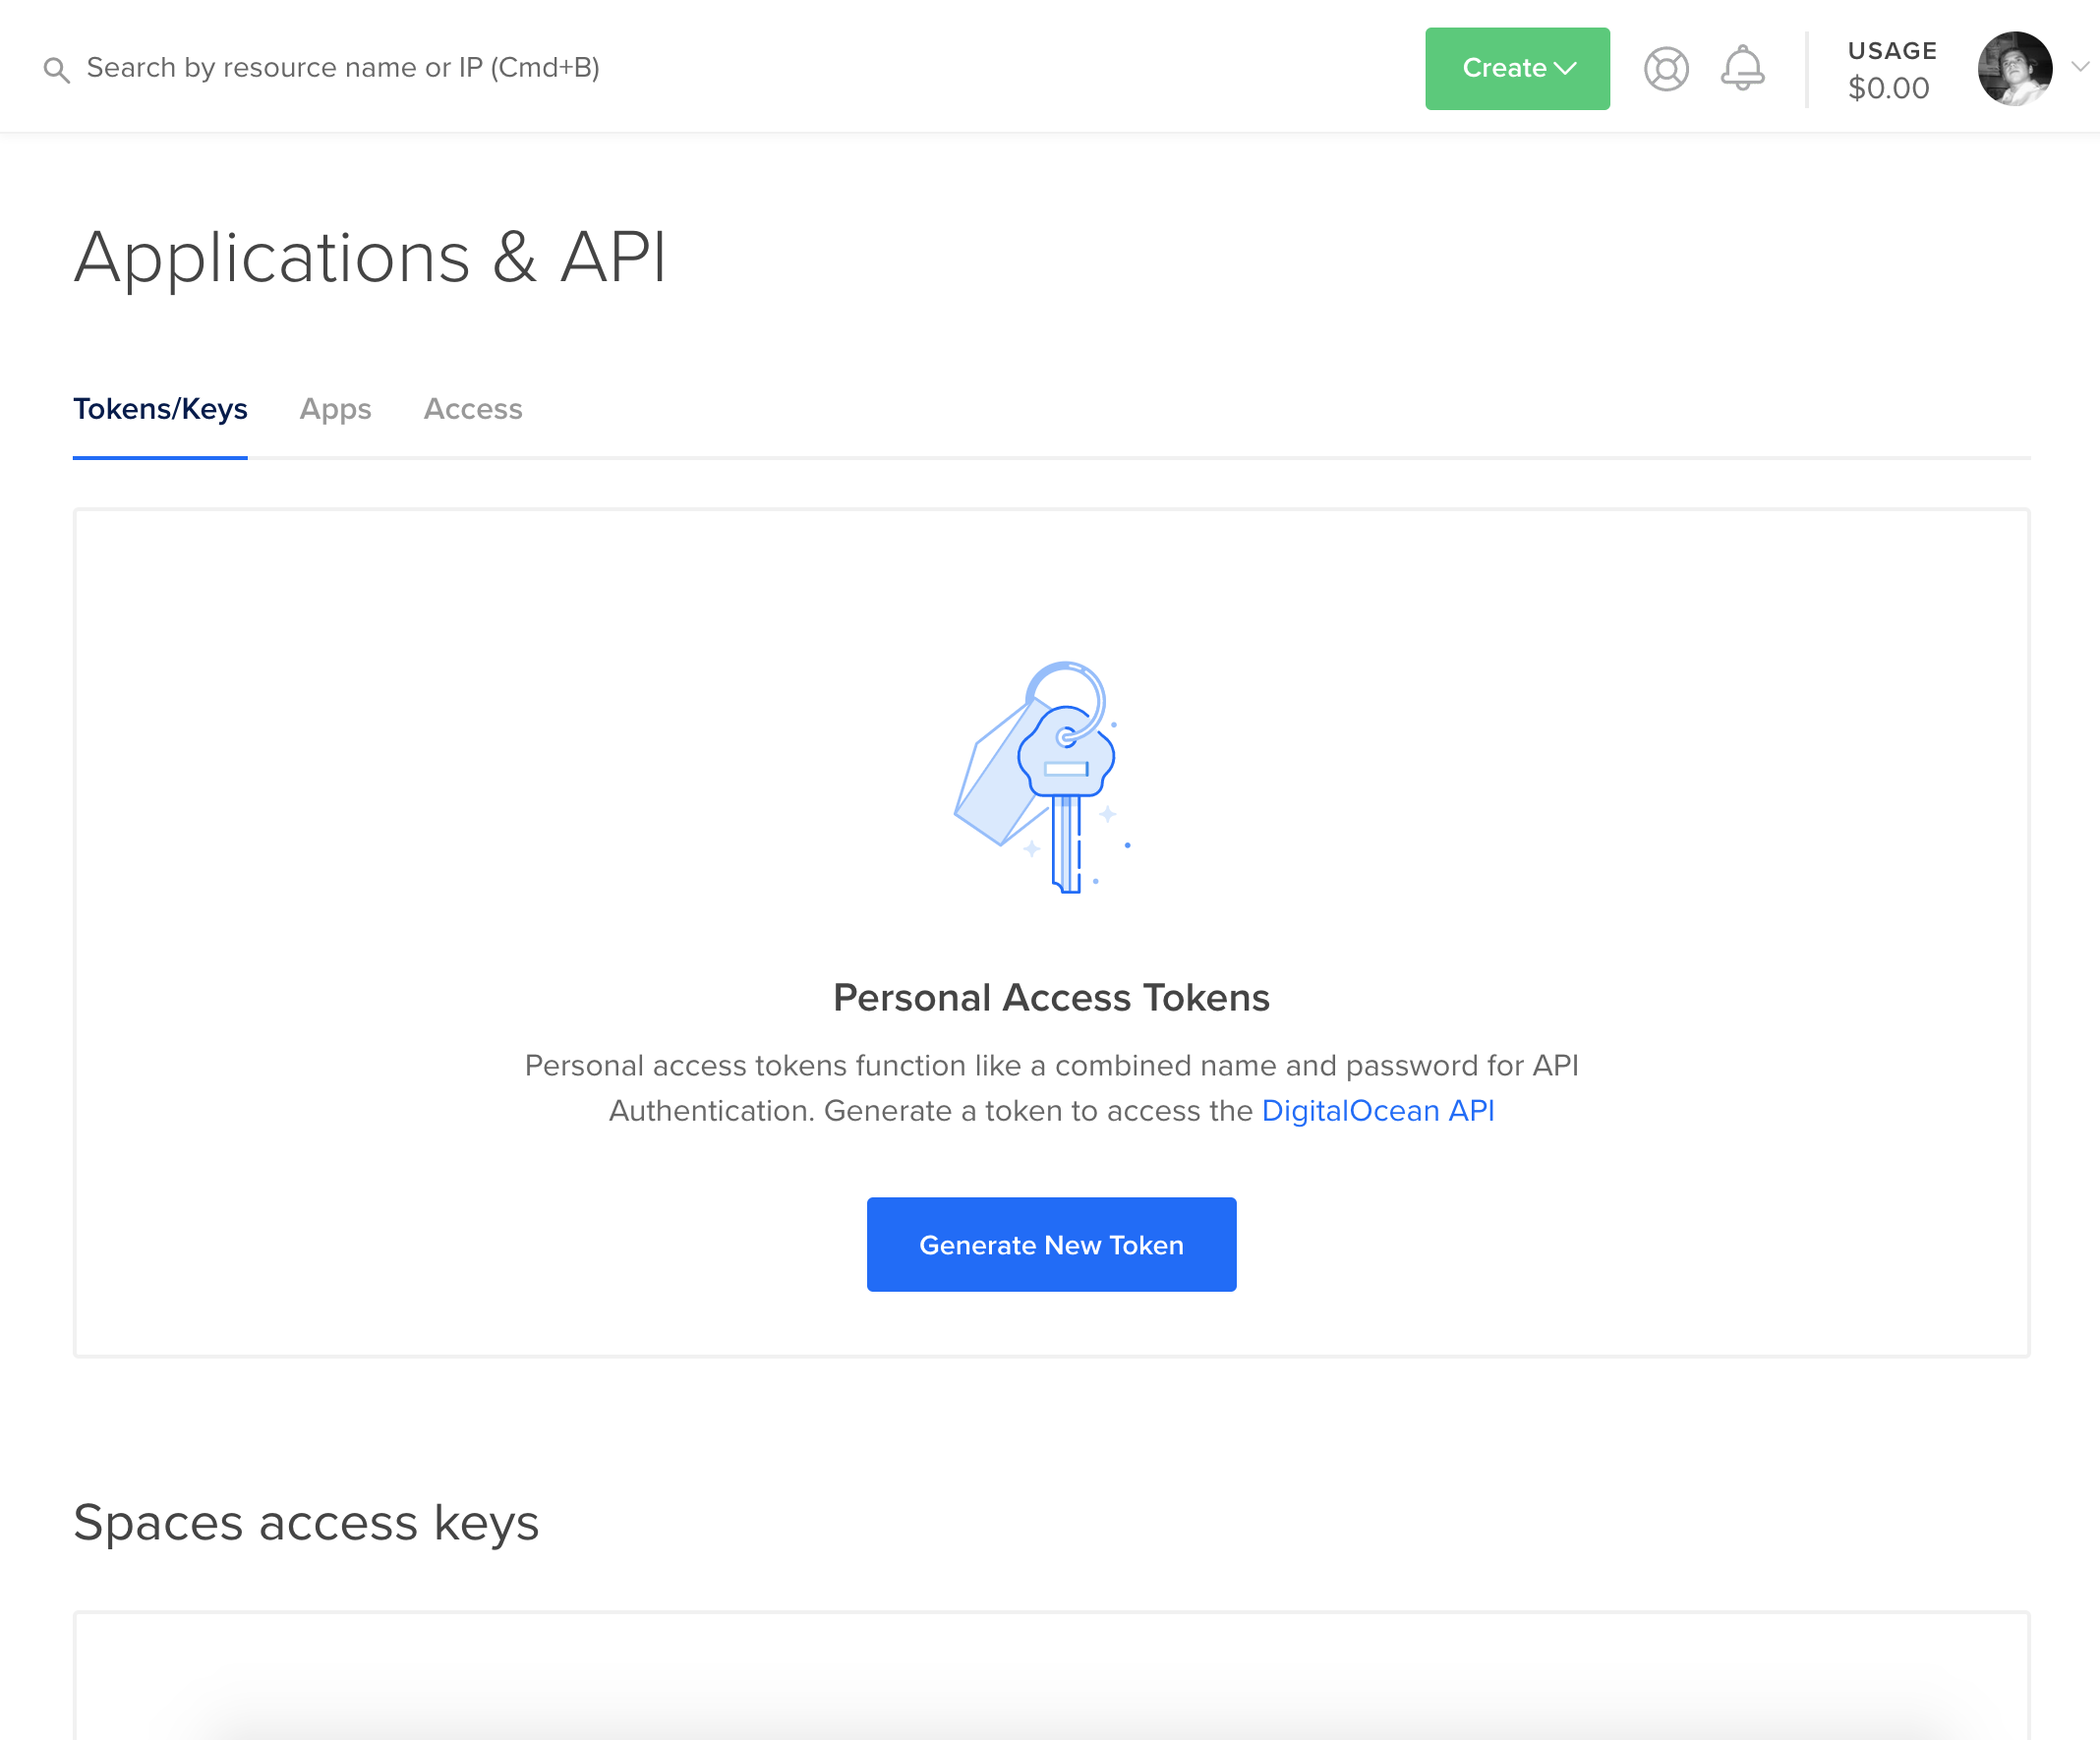
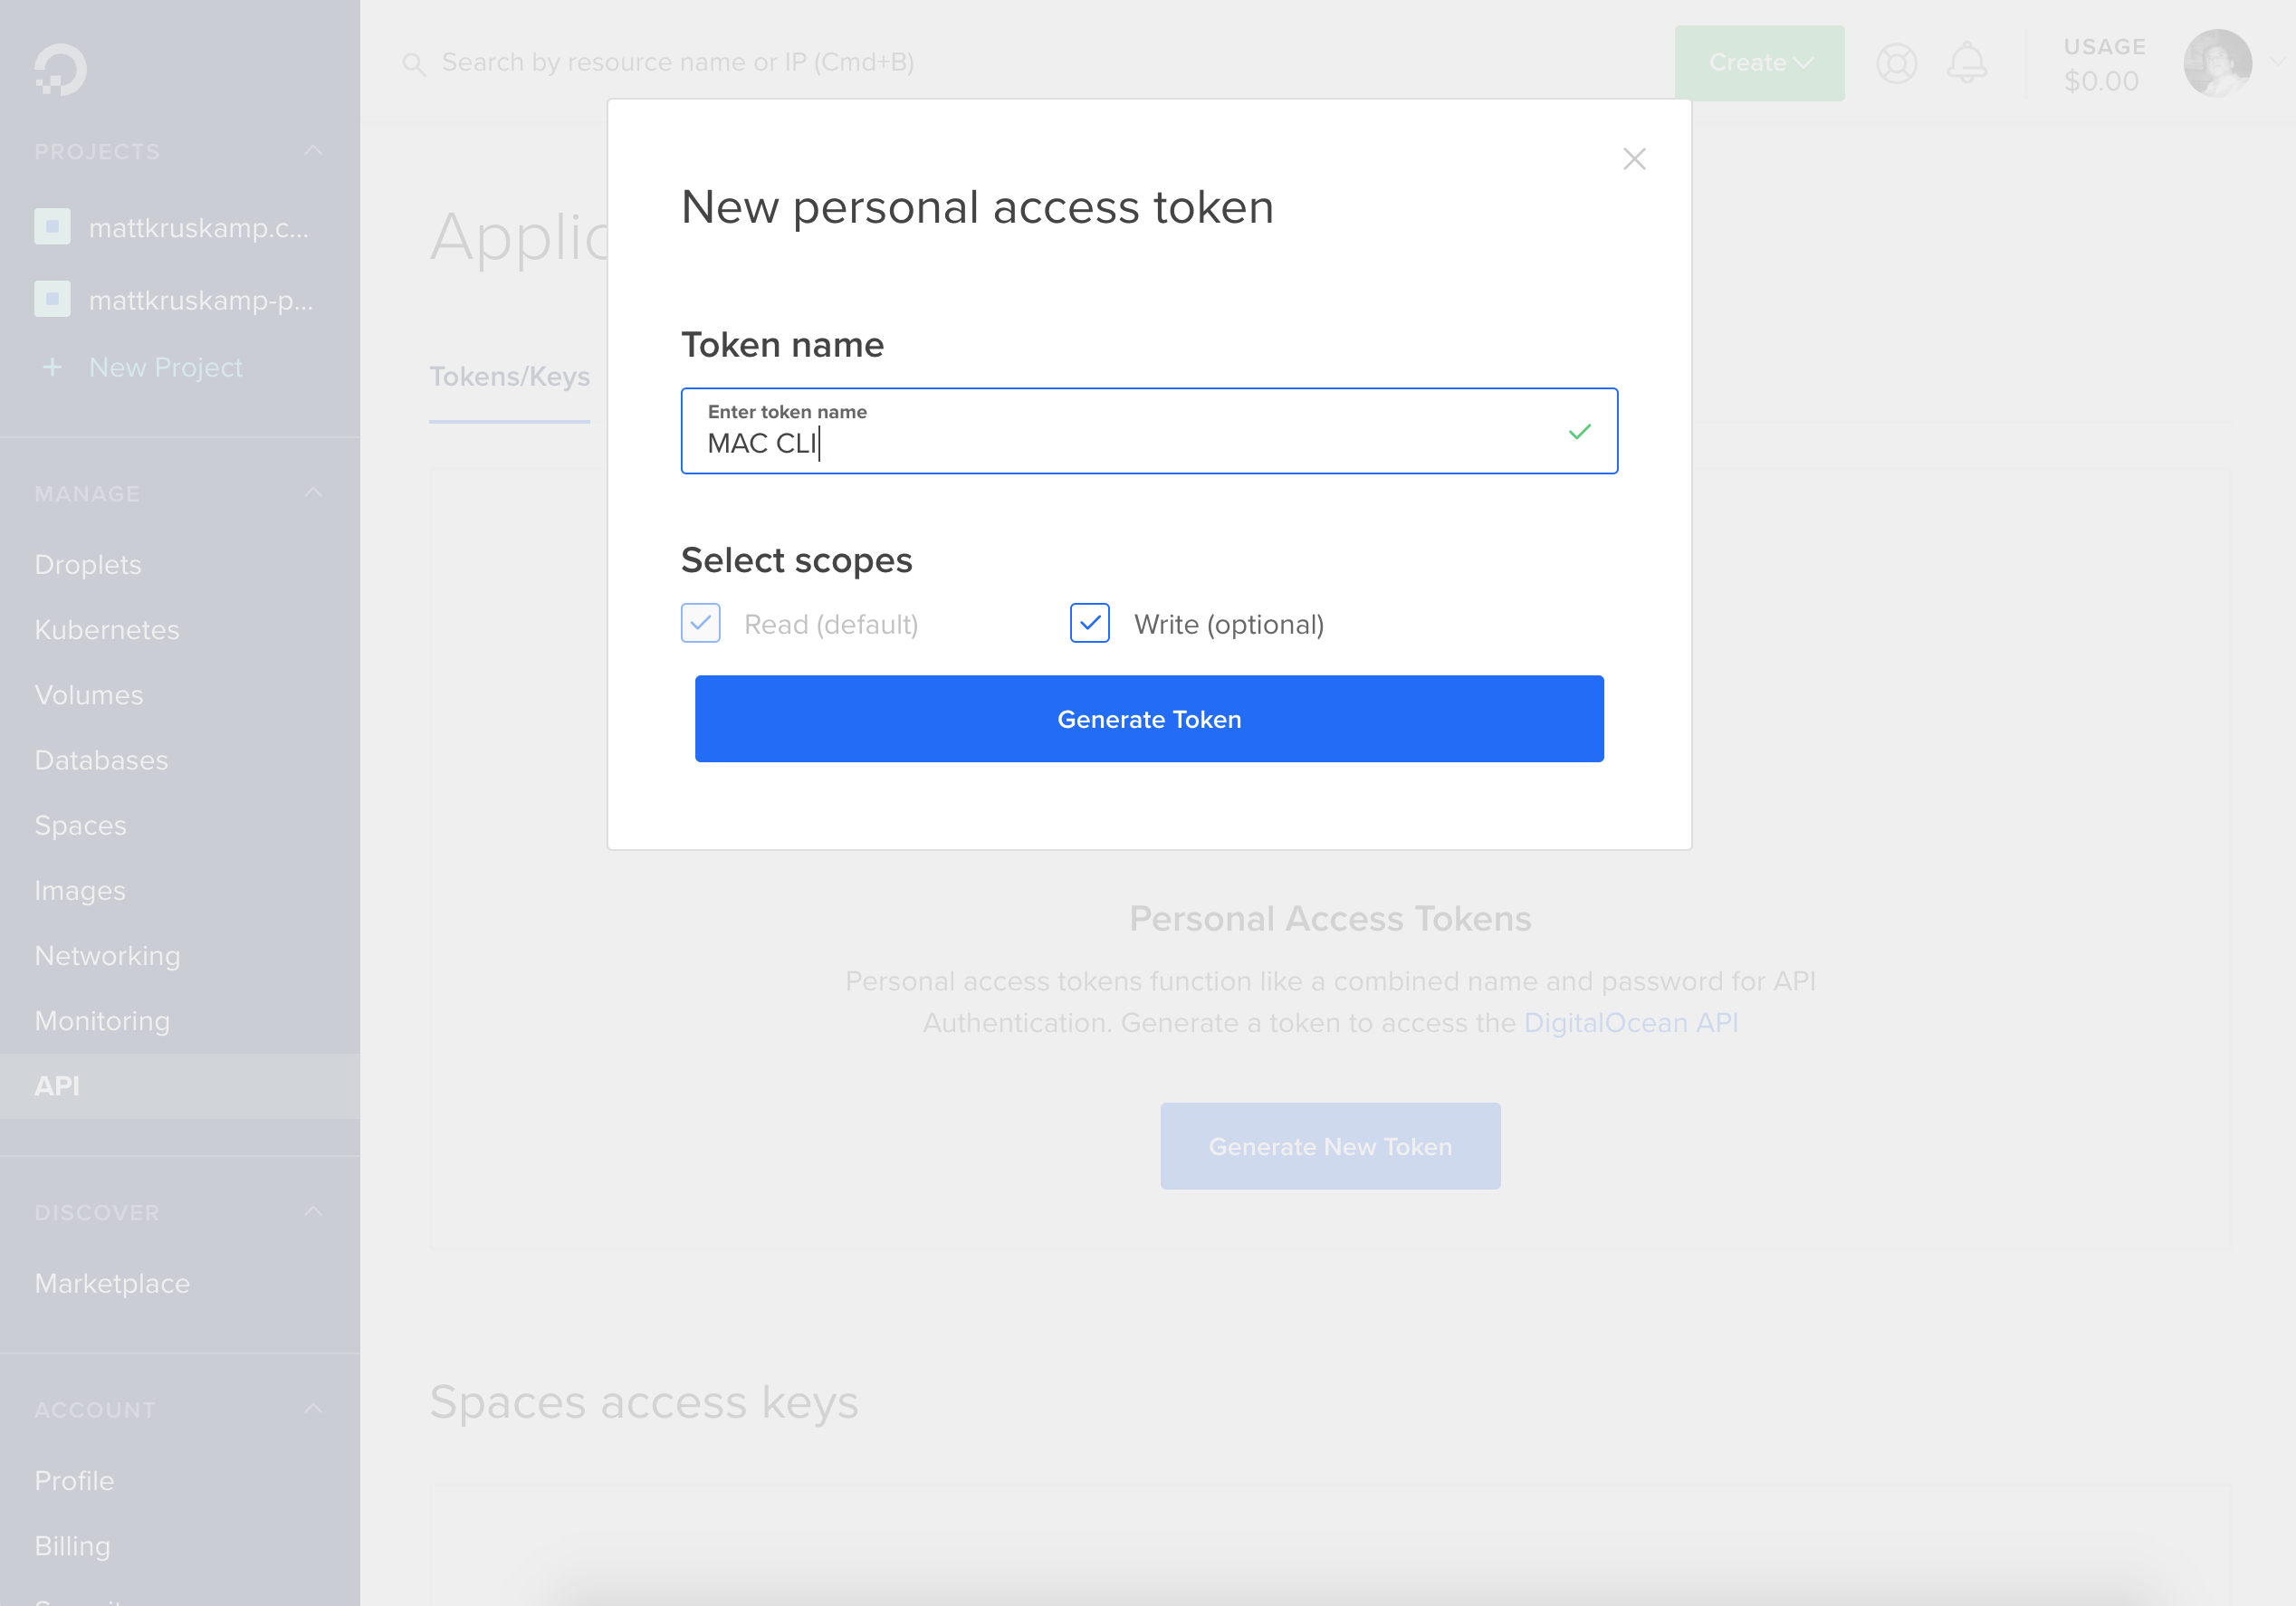
With the keys in hand, I connected to the cluster to take it for a spin.
doctl auth init
The tool asks for the access tokens generated previously. Once I entered them, I told doctl to get the configuration data for my specific cluster.
doctl kubernetes cluster kubeconfig save <cluster_name>
Installing Helm / Tiller
I used this DigitalOcean article to set this up. I recommend reading through it if anything is confusing.
Helm is a package manager for Kubernetes with a nautical theme. Think apt, npm, homebrew, etc. for a Kubernetes cluster. Helm gets installed on a client machine and sends commands to the Kubernetes cluster. To get started, I needed to connect to the cluster.
kubectl cluster-info
This command shows what cluster is connected.
kubectl config get-contexts
This command shows clusters available to connect.
kubectl config use-context <context-name>
There's a script on Github that handles the installation of Helm.
cd /tmp
curl https://raw.githubusercontent.com/kubernetes/helm/master/scripts/get > install-helm.sh
I updated permissions on the script and executed it.
chmod u+x install-helm.sh
./install-helm.sh
Tiller is the Helm client installed on the cluster. Helm issues commands to Tiller. Tiller fulfills them on the cluster.
kubectl -n kube-system create serviceaccount tiller
kubectl create clusterrolebinding tiller --clusterrole cluster-admin --serviceaccount=kube-system:tiller
helm init --service-account tiller
Finally, I checked the status to verify it worked.
kubectl get pods --namespace kube-system
Now the cluster can easily have systems installed on it. Helm and Tiller make setting up the ingress controller easier.
Setting up an ingress controller
I used this DigitalOcean article to help me through this section.
The next step is installing an ingress controller. Deployments aren't exposed to the internet by default. An ingress routes public traffic to a private service. The ingress controller allows global configurations for things like security. I used Helm to install the ingress controller.
helm install stable/nginx-ingress --name nginx-ingress --set controller.publishService.enabled=true
Then I verified that it worked.
kubectl get service
Running kubectl get service shows all the services running and should have nginx-ingress-controller listed with a public IP address. I took the public IP address and created an A record in my DNS settings.
A records setups are specific to the DNS provider used so setup isn't described here.
Add a sample application
With the configuration created, it was time to make the cluster host something. I started by creating a configuration with a simple hello-world website in it.
hello-kubernetes-first.yaml
apiVersion: v1
kind: Service
metadata:
  name: hello-kubernetes-first
spec:
  type: ClusterIP
  ports:
    - port: 80
      targetPort: 8080
  selector:
    app: hello-kubernetes-first
---
apiVersion: apps/v1
kind: Deployment
metadata:
  name: hello-kubernetes-first
spec:
  replicas: 3
  selector:
    matchLabels:
      app: hello-kubernetes-first
  template:
    metadata:
      labels:
        app: hello-kubernetes-first
    spec:
      containers:
        - name: hello-kubernetes
          image: paulbouwer/hello-kubernetes:1.5
          ports:
            - containerPort: 8080
          env:
            - name: MESSAGE
              value: Hello from the first deployment!
Deploy it to the cluster.
kubectl apply -f hello-kubernetes-first.yaml
Now an ingress can be created that routes traffic to the newly created service.
hello-kubernetes-ingress.yaml
apiVersion: extensions/v1beta1
kind: Ingress
metadata:
  name: hello-kubernetes-ingress
  annotations:
    kubernetes.io/ingress.class: nginx
spec:
  rules:
    - host: <your.domain.com>
      http:
        paths:
          - backend:
              serviceName: hello-kubernetes-first
              servicePort: 80
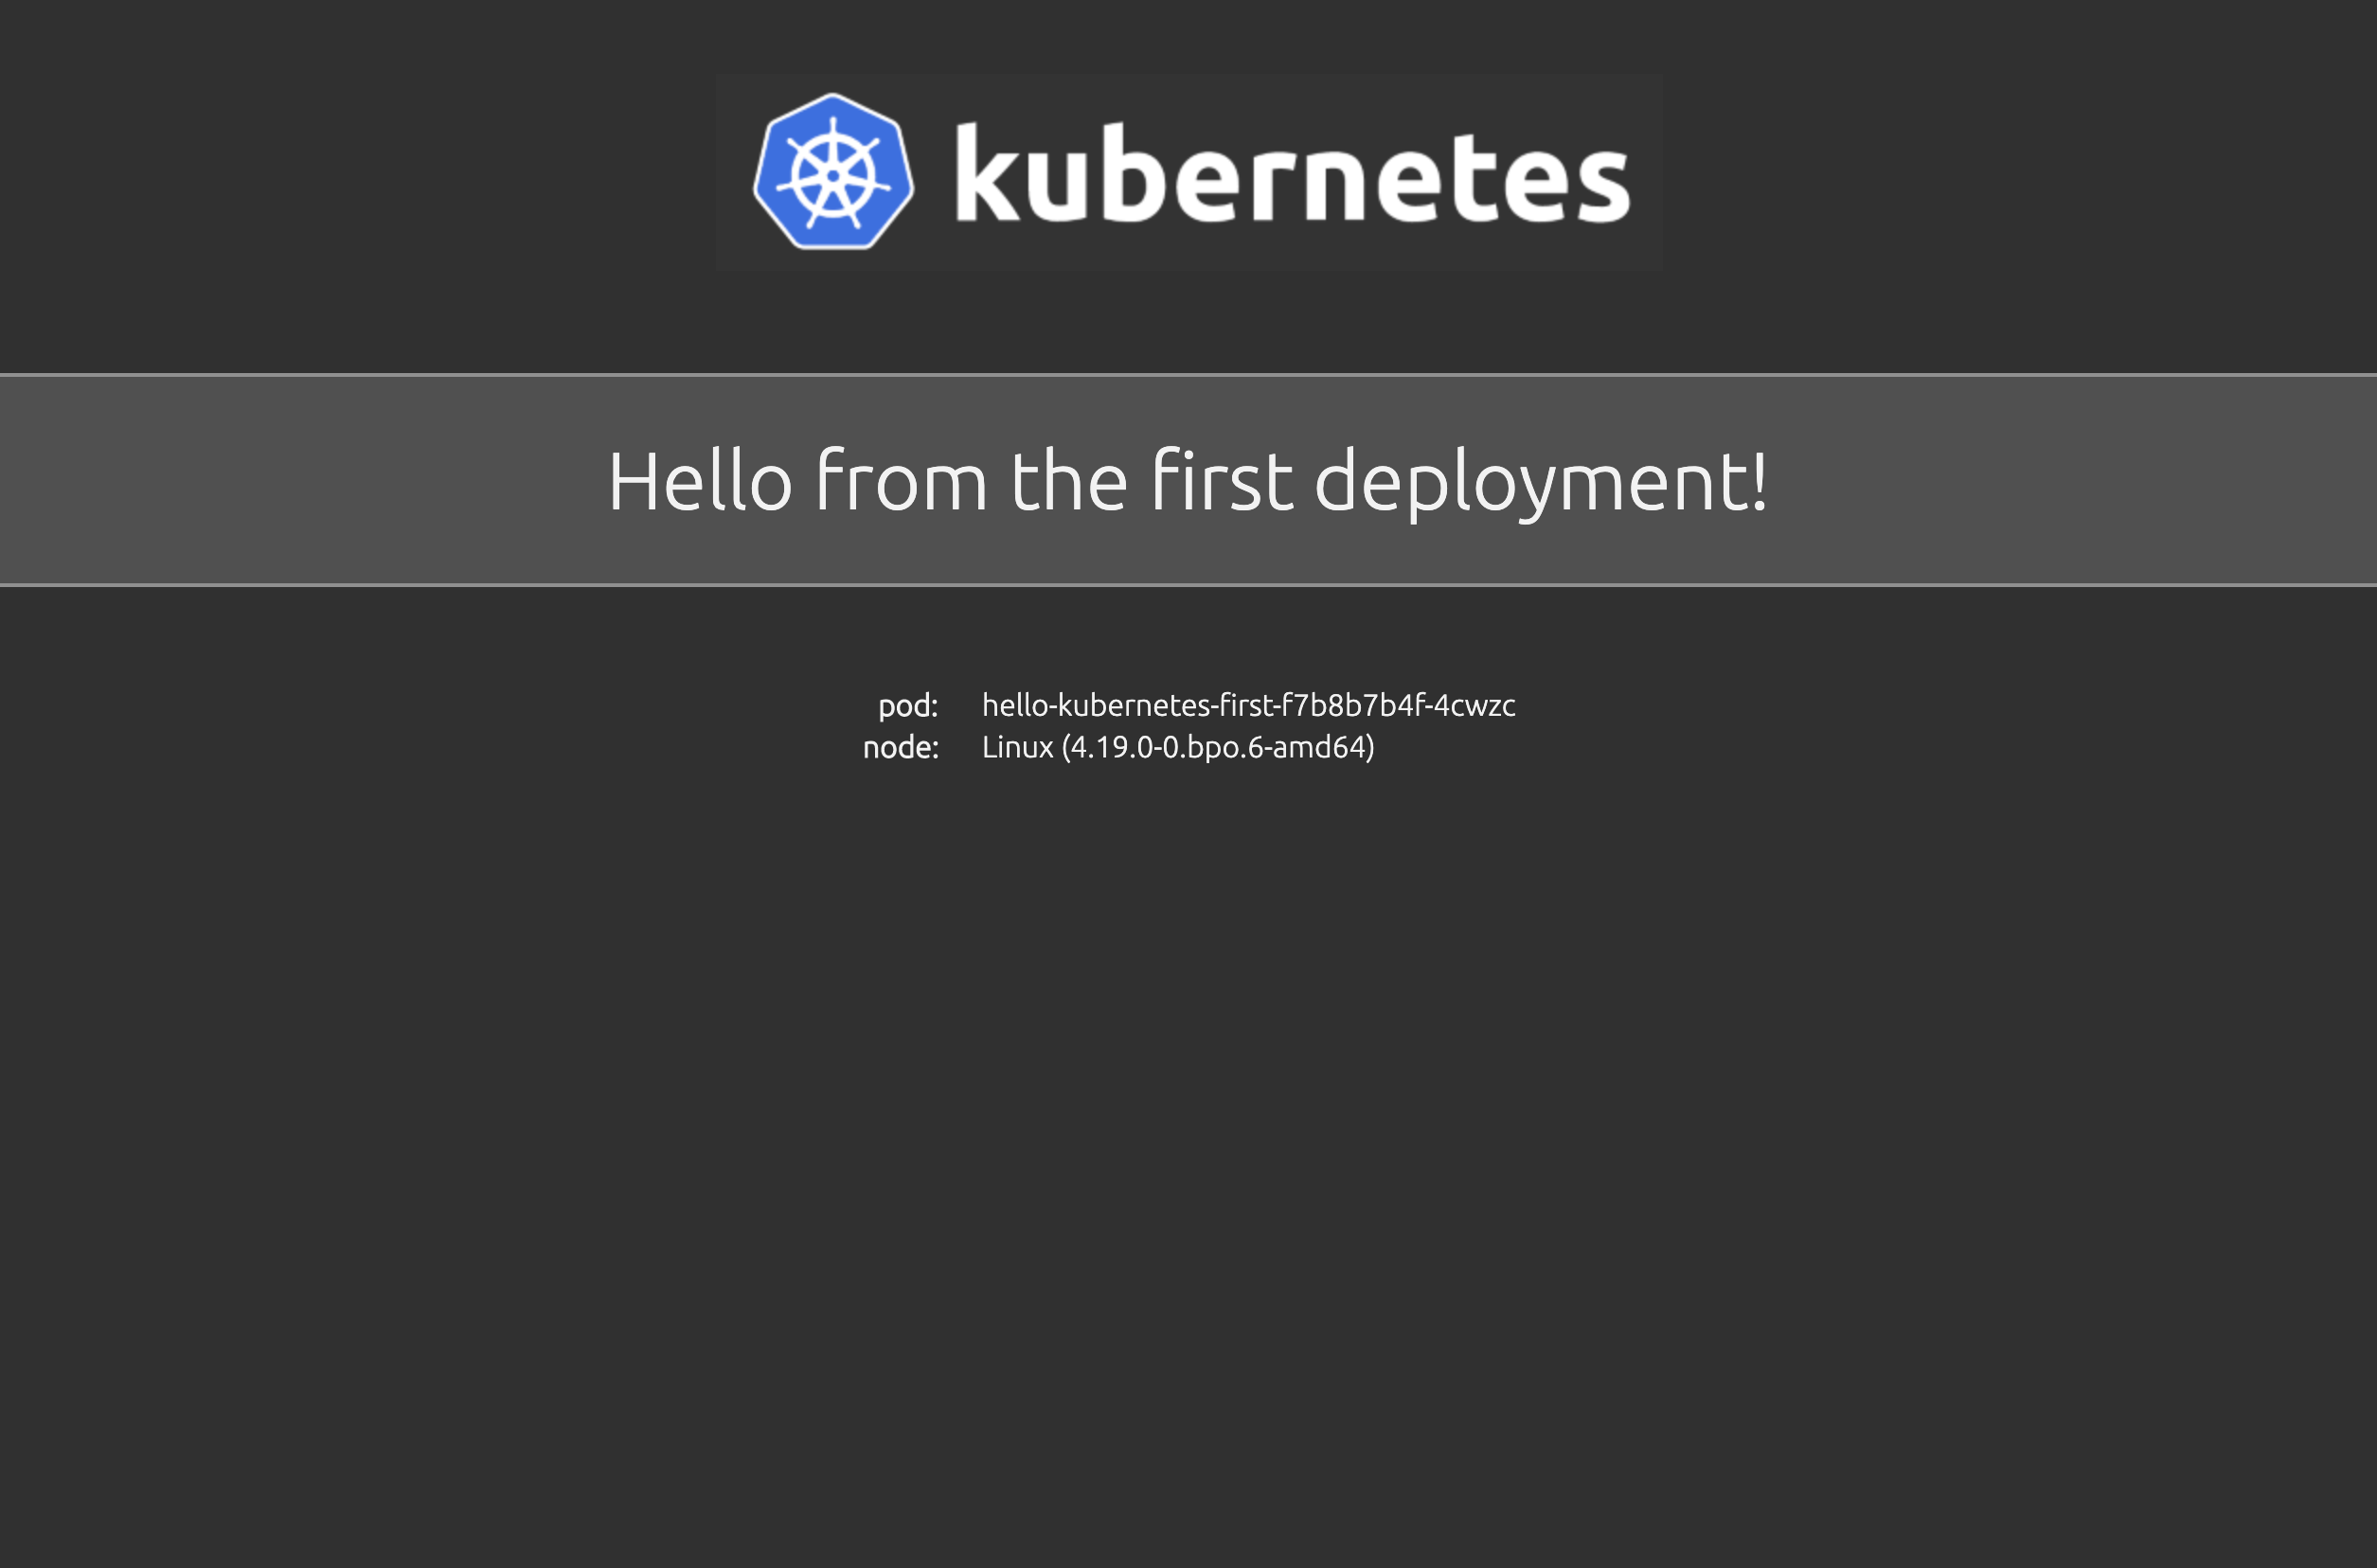
kubectl apply -f hello-kubernetes-ingress.yaml
This worked and I was able to see the site:
Securing the ingress
Displaying the site was pretty exciting, but I can't have unsecured endpoints. Luckily, Cert-Manager exists to create certificates for the webserver. Jetstack has tools to make this installation easy. The first step is to add custom CRDs.
kubectl apply -f https://raw.githubusercontent.com/jetstack/cert-manager/release-0.11/deploy/manifests/00-crds.yaml
Helm can then be used to install Cert-Manager.
kubectl create namespace cert-manager
helm repo add jetstack https://charts.jetstack.io
helm install --name cert-manager --version v0.11.0 --namespace cert-manager jetstack/cert-manager
The output let me know that the installation was successful. I then created a cluster issuer that will generate the certs.
production-issuer.yaml
apiVersion: cert-manager.io/v1alpha2
kind: ClusterIssuer
metadata:
  name: letsencrypt-prod
spec:
  acme:
    # Email address used for ACME registration
    email: <Your Email Here>
    server: https://acme-v02.api.letsencrypt.org/directory
    privateKeySecretRef:
      # Name of a secret used to store the ACME account private key
      name: letsencrypt-prod
    # Add a single challenge solver, HTTP01 using nginx
    solvers:
      - http01:
          ingress:
            class: nginx
Create the resource.
kubectl create -f production-issuer.yaml
The only thing left was updating the ingress to use the cluster issuer and configure TLS hosts.
hello-kubernetes-ingress.yaml
apiVersion: extensions/v1beta1
kind: Ingress
metadata:
  name: hello-kubernetes-ingress
  annotations:
    kubernetes.io/ingress.class: nginx
    cert-manager.io/cluster-issuer: letsencrypt-prod
spec:
  tls:
    - hosts:
        - <your.domain.com>
      secretName: hello-kubernetes-tls
  rules:
    - host: <your.domain.com>
      http:
        paths:
          - backend:
              serviceName: hello-kubernetes-first
              servicePort: 80
Update the cluster.
kubectl apply -f hello-kubernetes-ingress.yaml
Issuing a certificate took a bit, but there's a command to check the status.
kubectl describe certificate hello-kubernetes-tls
Hurray! It was nice to see the little lock in the browser window verifying a secure connection.
First impressions
I wouldn't consider the setup simple, but it wasn't difficult. At this point, the DigitalOcean documentation was near perfect. No invalid commands, weird results, or confusion. Considering the complexity of the systems, I was impressed I didn't have to look up a bunch of odd CLI responses or dig through any logs. I'll see how long this lasts as I move forward.
Next steps
In the next article, I'm adding a private Docker registry to the cluster. Then I'll push images to it and deploy Kubernetes resources from it.